Project Description
At Select Coatings, we take pride in delivering high-quality, durable flooring solutions that not only enhance aesthetics but also provide long-lasting protection. This basement floor restoration project in Lenexa, KS, was particularly rewarding as we helped a homeowner recover from severe flooding damage.
With our expertise in polyurea coatings, we transformed their damaged basement floor into a sleek, resilient, and low-maintenance space. By addressing extensive pitting and perimeter damage, we ensured a flawless finish that would stand up to future challenges.
Project Details:
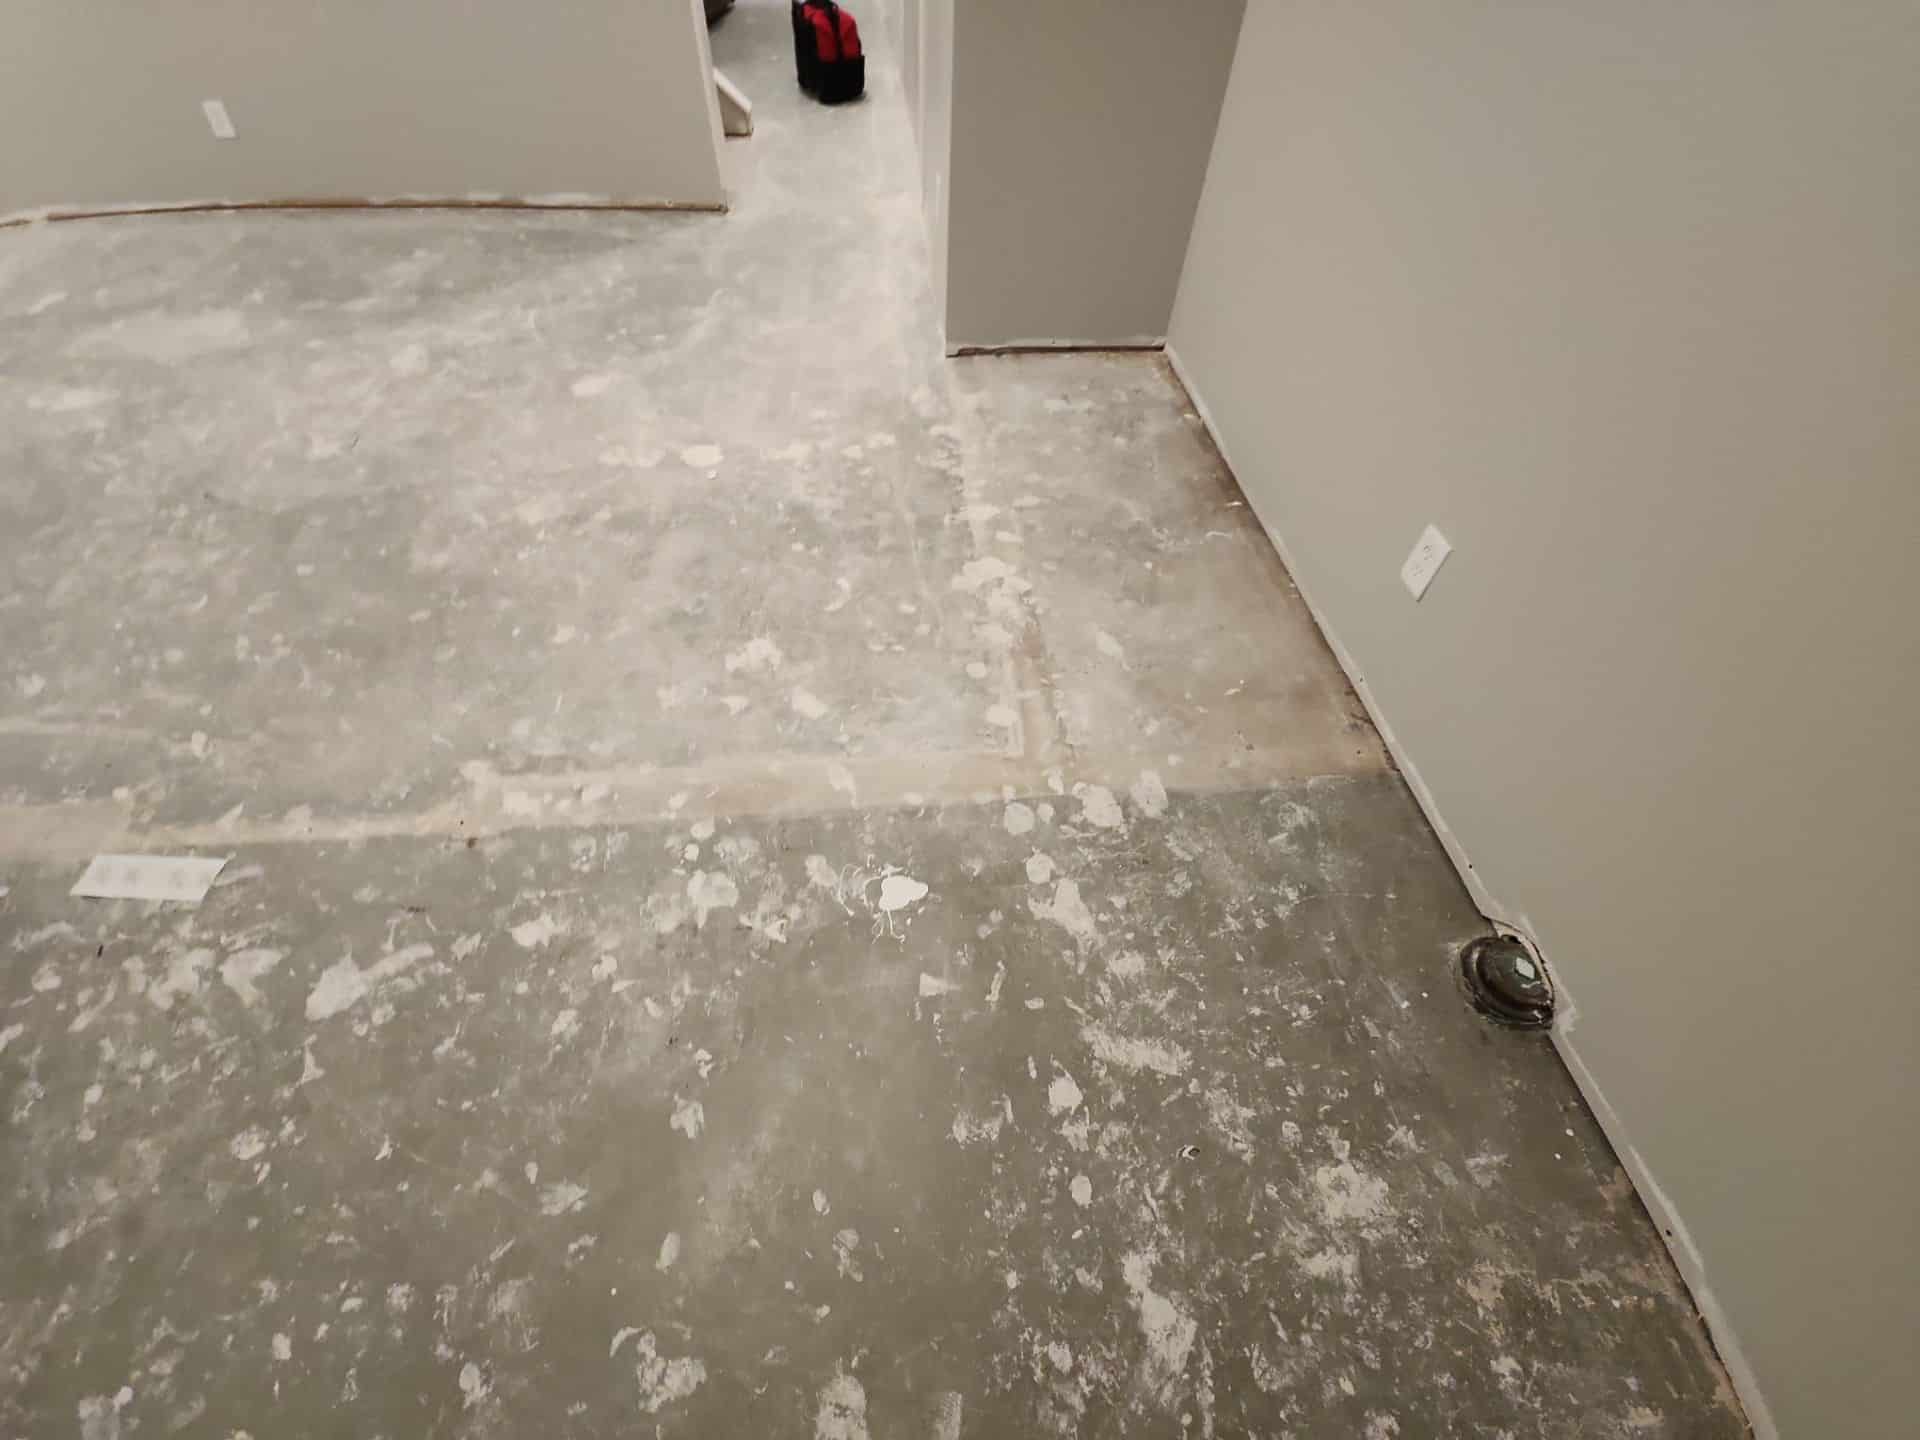
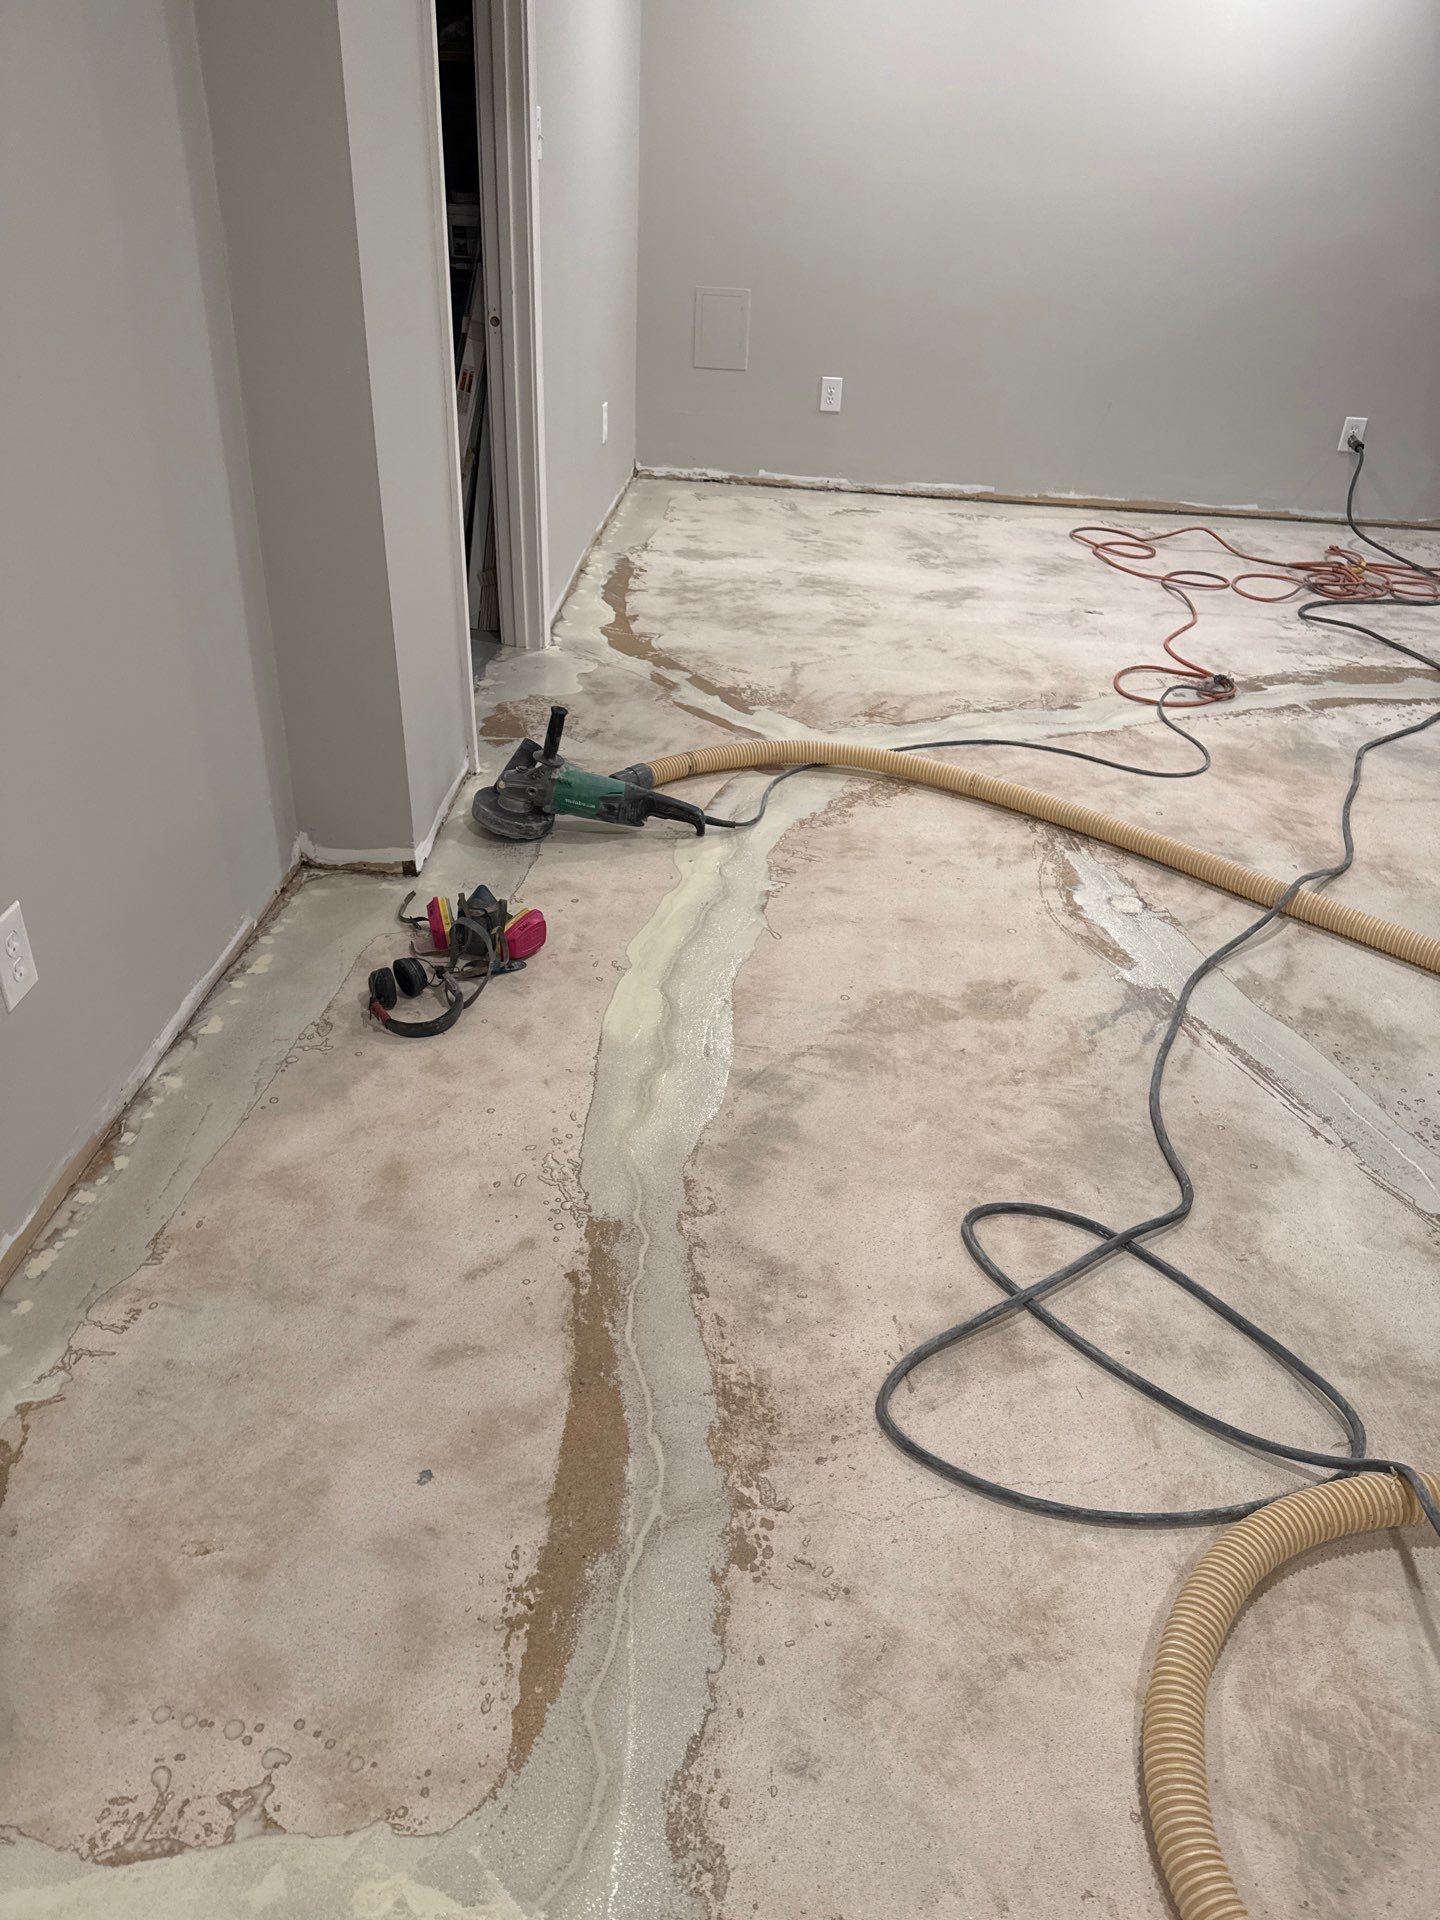
Before: The basement had suffered severe flooding, leaving the original flooring irreparably damaged. The homeowner needed a durable, long-term solution to prevent future issues.
Additionally, the floor had extensive pitting in the middle and perimeter damage from old tack strips, making restoration particularly challenging.
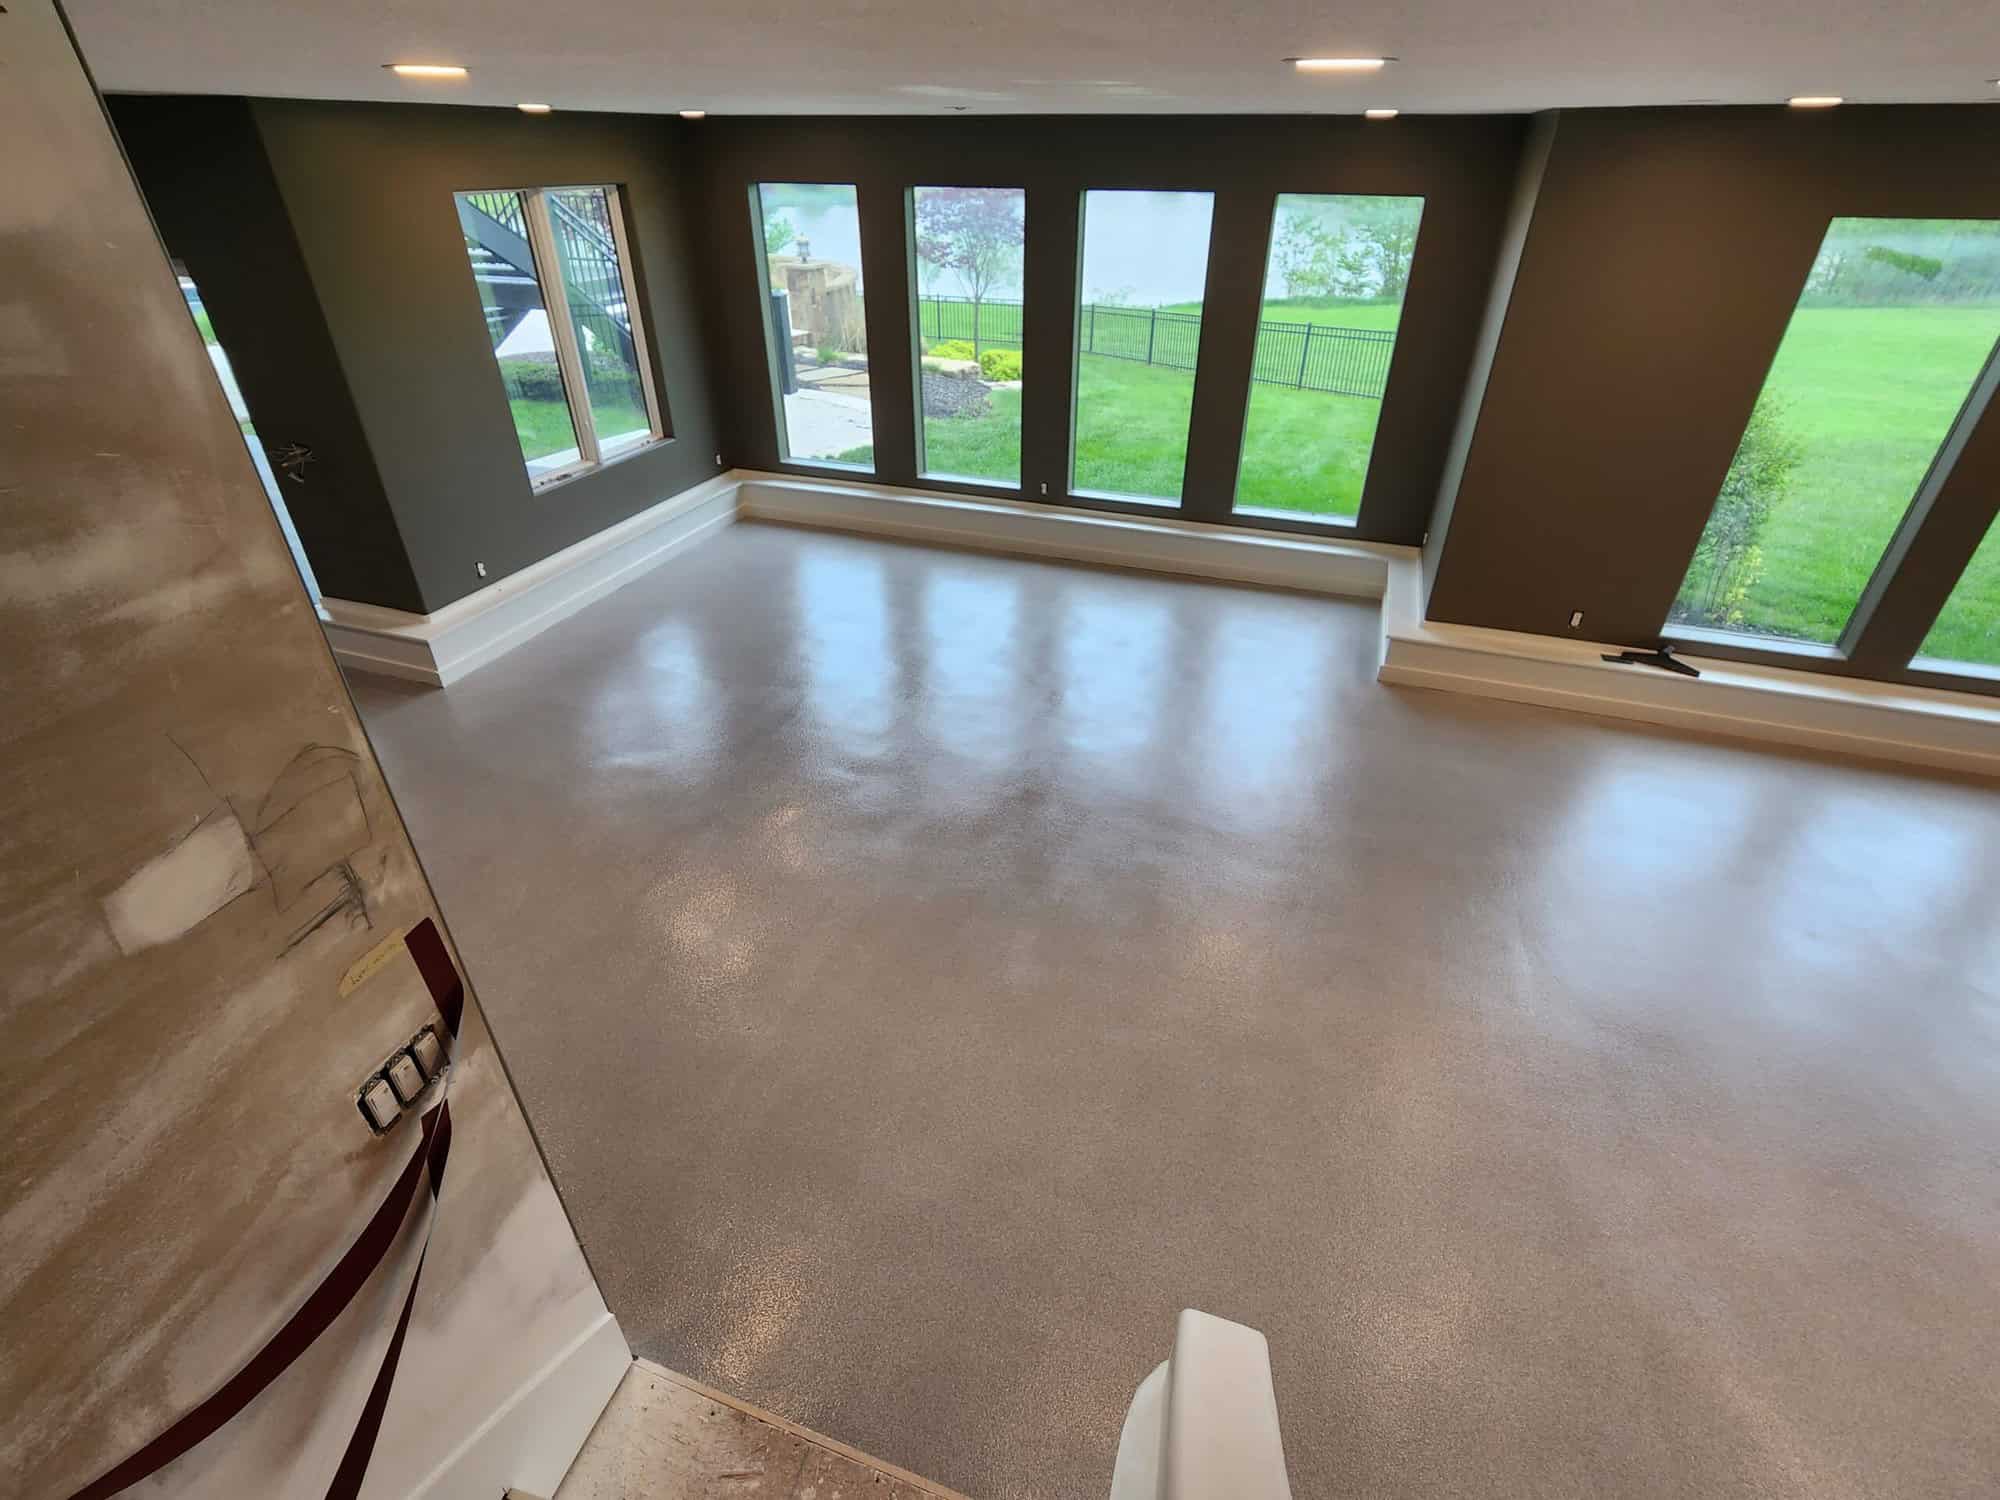
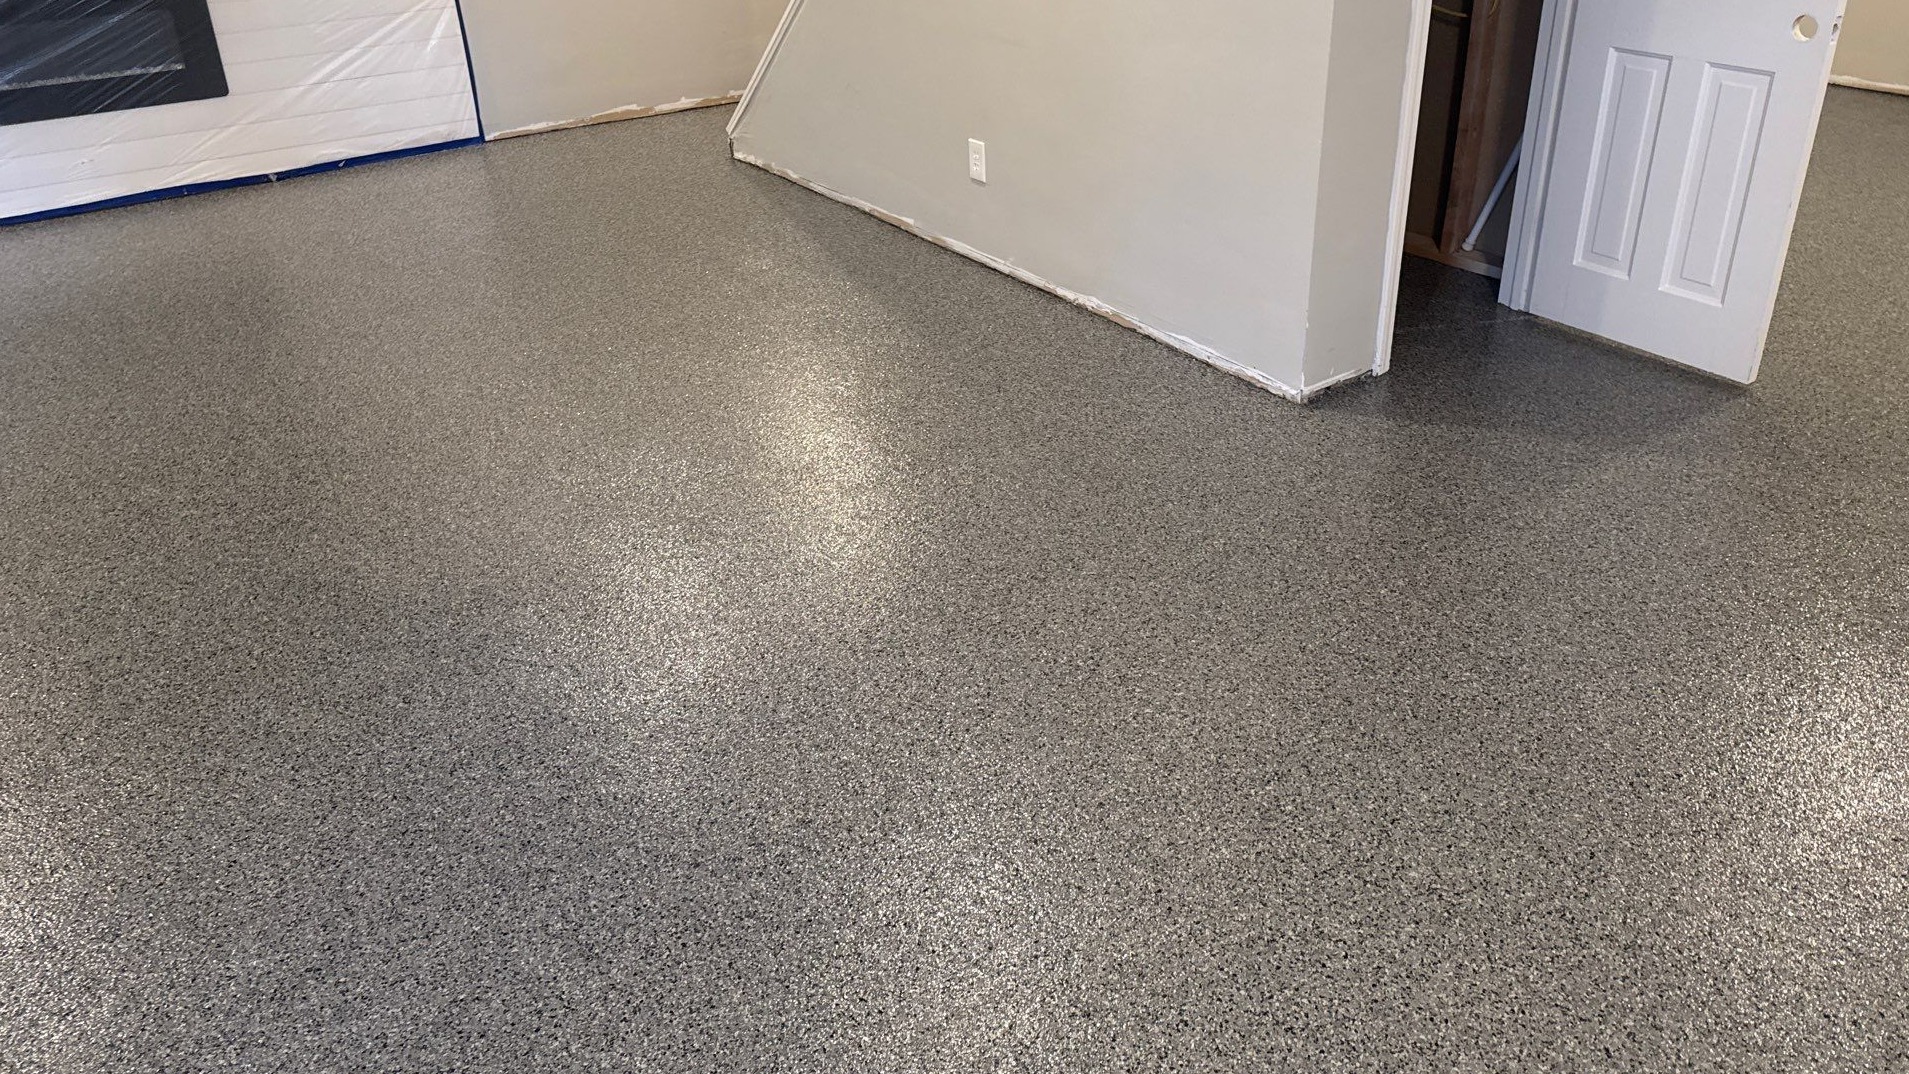
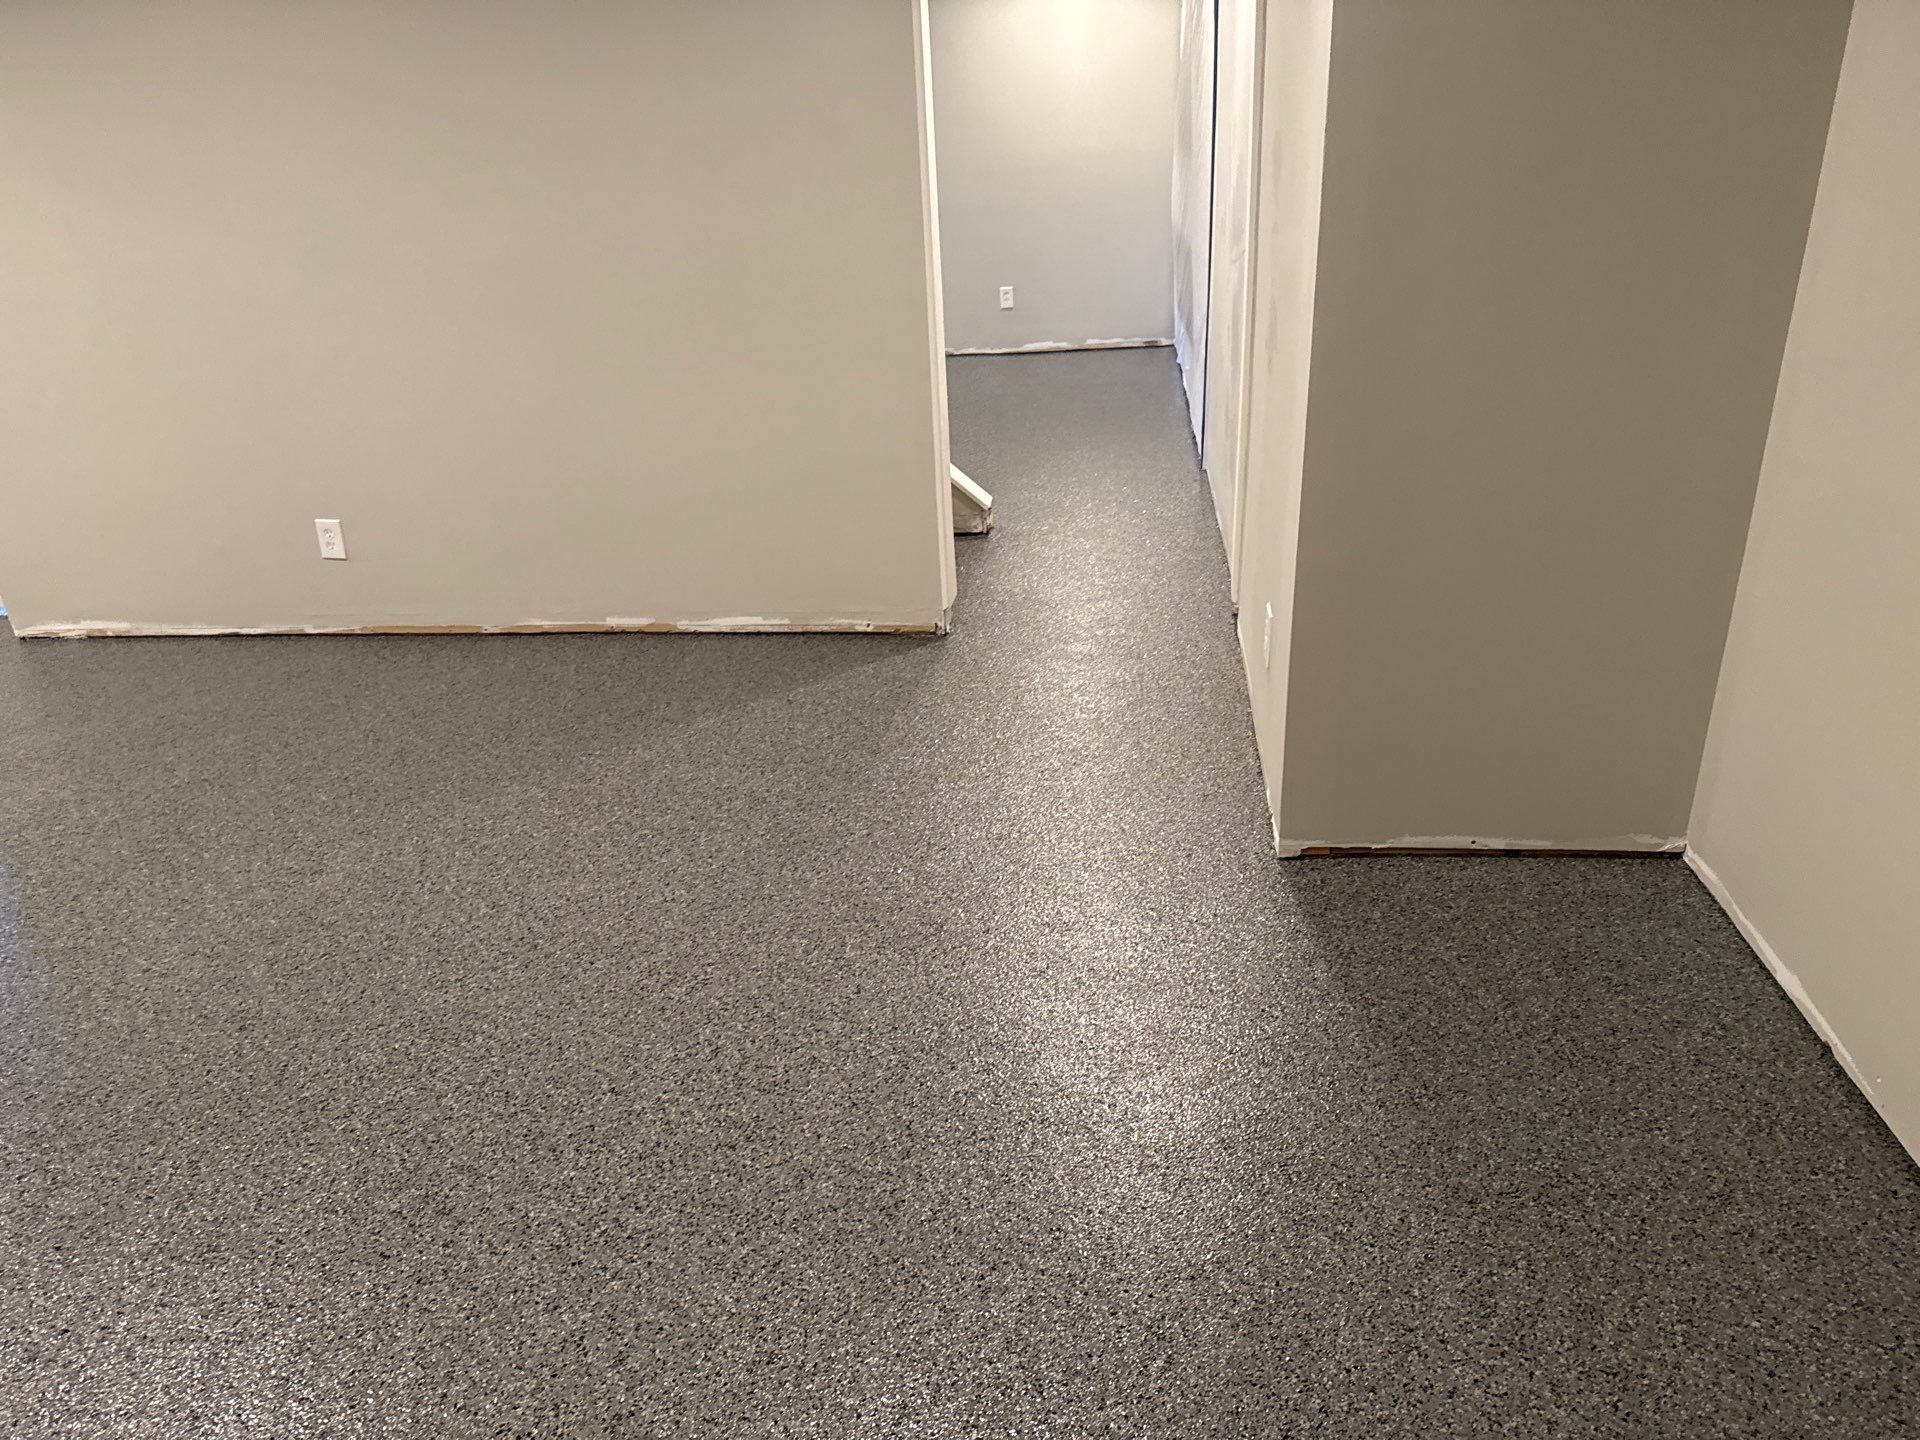
After: Our expert restoration process completely revitalized the basement, leaving behind a smooth, polished, and highly durable surface.
The decorative Nightfall Flake coating not only enhanced the aesthetics but also provided a resilient, low-maintenance finish built to last.
Check out the before and after photos to see the incredible difference!
Step-by-Step Process:
Step 1: Initial Contact and Scheduling
- The Call: The homeowner reached out after their basement experienced significant flooding, seeking a permanent, water-resistant flooring solution.
- Same-Day Quote: Our team assessed the basement’s condition and provided a quote on the initial visit.
- Signed Contract: The homeowner was impressed with our expertise and decided to move forward with the project immediately.
- Scheduled Install Date: The project was scheduled within a week to minimize disruption for the homeowner.
- Confirmation Text: Our crew confirmed the appointment the evening before installation.
Step 2: Arrival and Preparation
- Morning Greeting: The crew sent a “Good morning, we’re on our way” text and arrived promptly at 8:00 AM.
- Small Grinder Setup: Due to accessibility limitations, we used our compact basement grinder, as our standard 850lb grinder was too large to fit through the house or down the back steps.
- Setup: Tools and materials were transported carefully to avoid disruption in the home.
Step 3: Grinding and Pitting Repairs
- Surface Preparation: Our team ground down the damaged flooring to remove loose or compromised concrete, ensuring a strong adhesion for the coating.
Pitting Repairs:
- Middle of the Floor: The crew filled and smoothed out pitted areas to create a level surface.
- Perimeter Tack Strip Damage: The entire perimeter was repaired to address damage caused by old tack strips.
- Curing Time: The repair materials cured in just 30 minutes, keeping the project on schedule.
Step 4: Primer/Base Coat Application
- Vacuuming: The surface was meticulously cleaned to remove all dust and debris, ensuring optimal adhesion.
- Base Coat: We applied a high-solids polyurea Haze Gray base coat, creating a strong foundation for the decorative finish.
Step 5: Decorative Flake Broadcast
- Full Broadcast: While the base coat was still wet, we applied Nightfall decorative flake to full rejection, ensuring a uniform and visually appealing surface.
- Break Time: The base coat and flakes were left to cure for 1.5 hours while the team took a lunch break.
Step 6: Smoothing the Surface
- Flake Scraping: Once the coating had cured, we scraped off all loose flakes, ensuring a smooth, even surface.
- Vacuuming: All excess flakes were thoroughly vacuumed, leaving the floor clean and prepared for the final protective layer.
Step 7: Top Coat Application
- Polyaspartic Top Coat: A high-solids polyurea top coat was expertly applied to seal the decorative flakes, providing a durable, slip-resistant, and easy-to-maintain finish.
- Final Result: The basement was completely transformed into a modern, functional space with a sleek and resilient floor.
Results:
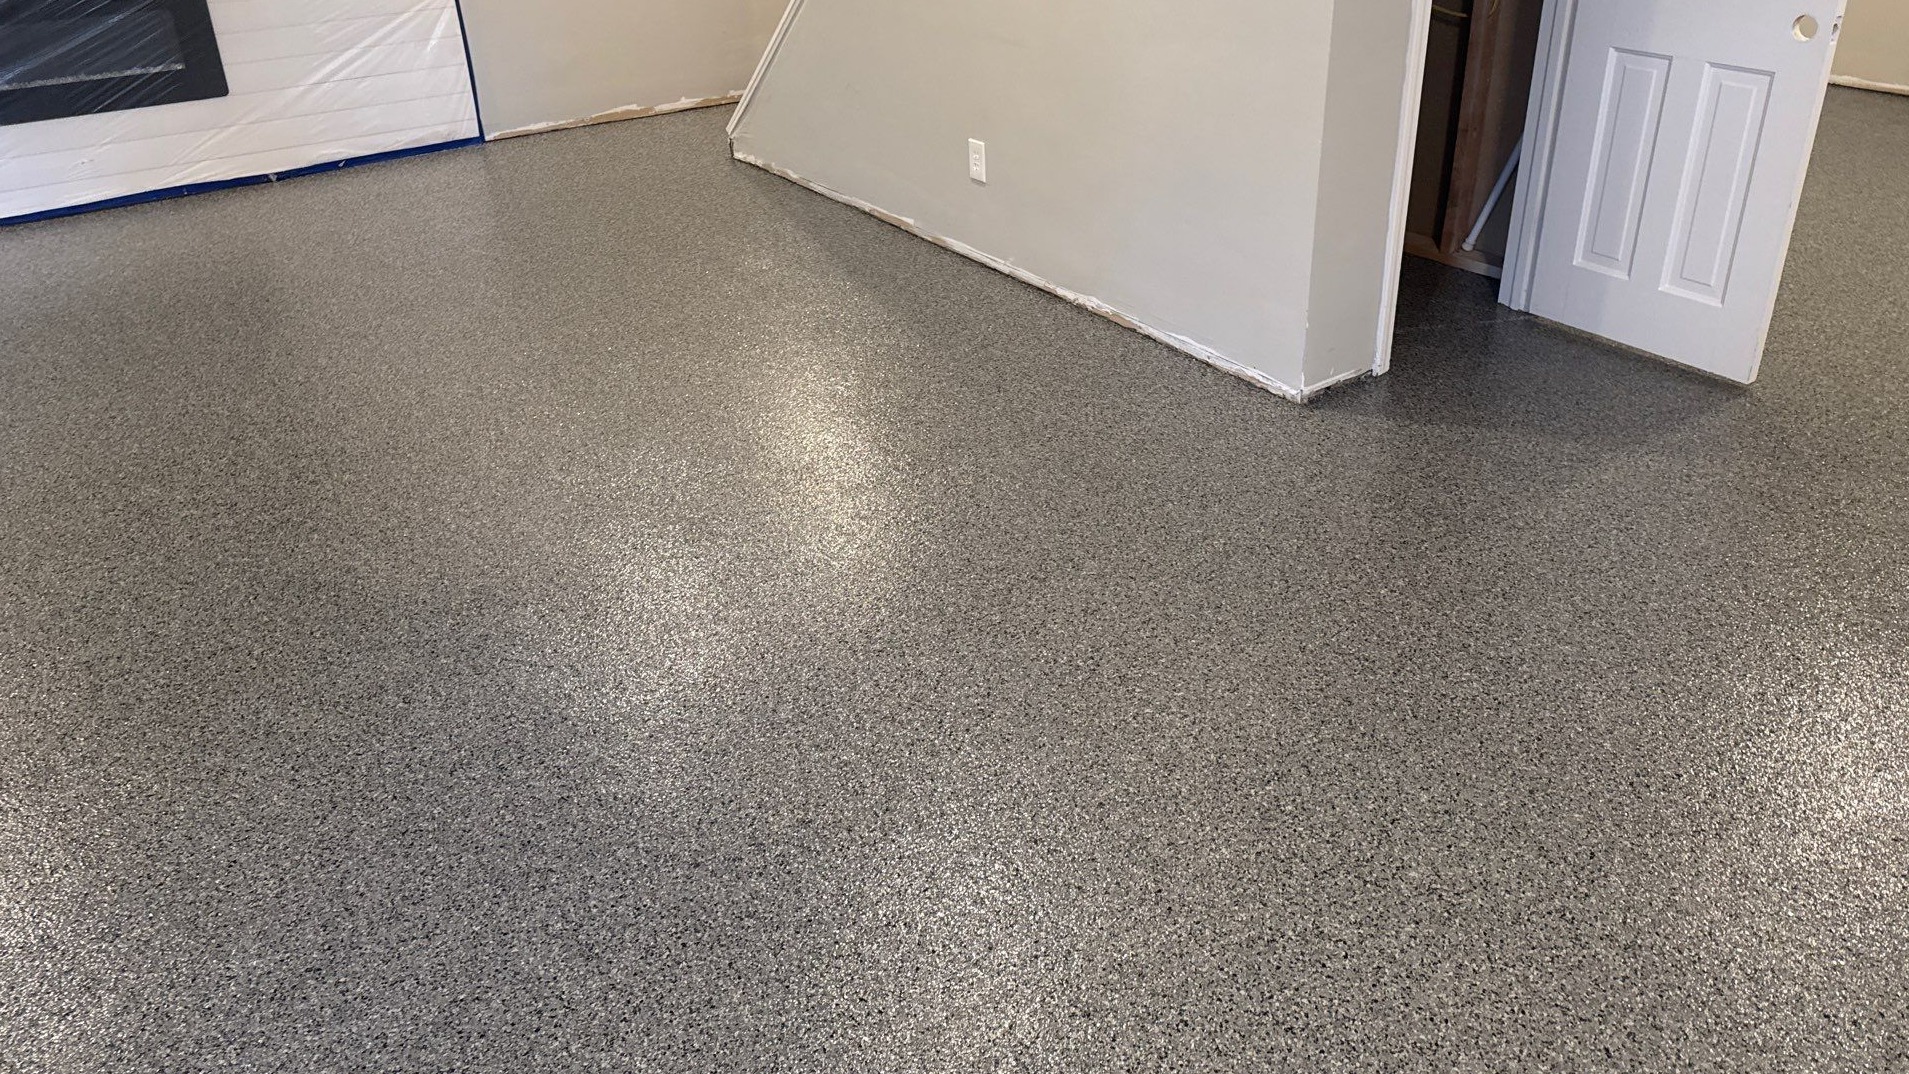
This basement restoration in Lenexa, KS, is a perfect example of how Select Coatings delivers top-tier, long-lasting flooring solutions. The homeowner was thrilled with the transformation, knowing they now had a basement floor that was not only visually appealing but also built to withstand any future challenges.
If you’re looking for a durable, stylish, and low-maintenance flooring solution, Select Coatings is here to help. Contact us today to schedule your consultation!

